Installation
The EnMAP-Box is a plugin for QGIS. It requires the QGIS Python API and various other Python packages. Here we describe how you can install QGIS, the required python packages and the EnMAP-Box plugin.
1. Install QGIS
Install QGIS via the official Standalone/OSGeo4W Installer
Install either the current QGIS Long Term Release (LTR) or the current QGIS Latest Release (LR) to run the latest EnMAP-Box using the QGIS installer from https://www.qgis.org/en/site/forusers/alldownloads.html#windows.
For beginners, we recommend using the standalone installers. More advanced QGIS users can use OSGeo4W installer, which eases updates of existing QGIS installation.
In case you already have the current QGIS LTR or LR version installed, you can skip this step.
In case you have an outdated QGIS version, make sure to install a current version.
Install QGIS on Linux
Install QGIS as described here https://www.qgis.org/en/site/forusers/alldownloads.html#debian-ubuntu , or follow the instructions for conda.
Install QGIS on MacOS
Note
As of June 2025, the official QGIS page https://qgis.org/en/site/forusers/download.html has the following notice:
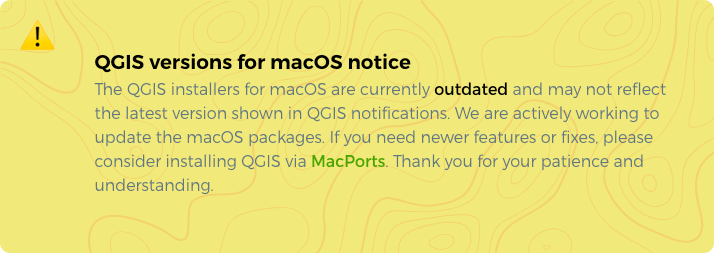
We have made better experiences in using conda to install QGIS and all Python packages required to run the EnMAP-Box (tested on macOS Sequoia 15.5 (24F74), Intel MacBook 2010 and Mac Mini 2024).
Therefore, please follow the installation guide given in the Conda tab.
Install QGIS with conda (cross-platform)
Conda is a cross-platform package manager that allows to install software in separated environments. We recommend installing conda using Miniforge, a minimal installer which by default installs conda packages from the conda-forge channel.
Linux / Unix / MacOS:
# download install script
curl -L -O "https://github.com/conda-forge/miniforge/releases/latest/download/Miniforge3-$(uname)-$(uname -m).sh"

# run install script
sh Miniforge3-$(uname)-$(uname -m).sh
Windows:
Download and run the miniforge installer from https://github.com/conda-forge/miniforge/releases/latest/download/Miniforge3-Windows-x86_64.exe
When done, continue with the installation of QGIS and python dependencies in conda.
2. Install Python Dependencies
Install Python Dependencies
Close QGIS, if it is open.
Open the OSGeo4W Shell from the start menu.
Install Python dependencies via PIP by executing:
pip install --upgrade --user -r https://raw.githubusercontent.com/EnMAP-Box/enmap-box/main/.env/osgeo4w/requirements_osgeo4w.txt
Note
In rare cases, the user folder may contain wrongly installed packages, which are interfering with the package version managed by OSGeo4W, e.g. numpy, scipy or gdal. Wrongly installed packages can be deleted manually from the user folder.
To locate the user folder used by your QGIS instance, run the following inside your QGIS Python console:
>>> import site
>>> print(site.USER_SITE)
C:\Users\Andreas\AppData\Roaming\Python\Python39\site-packages
(Optional) Install additional Python dependencies for SpecDeepMap (torch, lightning, tensorboard, torchvision, and segmentation-models-pytorch)
The dependencies are only required for using algorithms of the SpecDeepMap Application. Run the following command in the OSGeo4W Shell.
pip install --user lightning==2.5.0.post0 segmentation-models-pytorch==0.5.0 tensorboard==2.19.0 torch==2.6.0 torchvision==0.21.0 pandas==2.2.3 --no-warn-script-location
(Optional) Install h5py and gdal-hdf5 dependencies via the OSGeo4W installer:
The dependencies are only required for importing PRISMA products.
Start the OSGeo4W installer by executing:
setup
Search for h5py, select the latest version of the python3-h5py package.
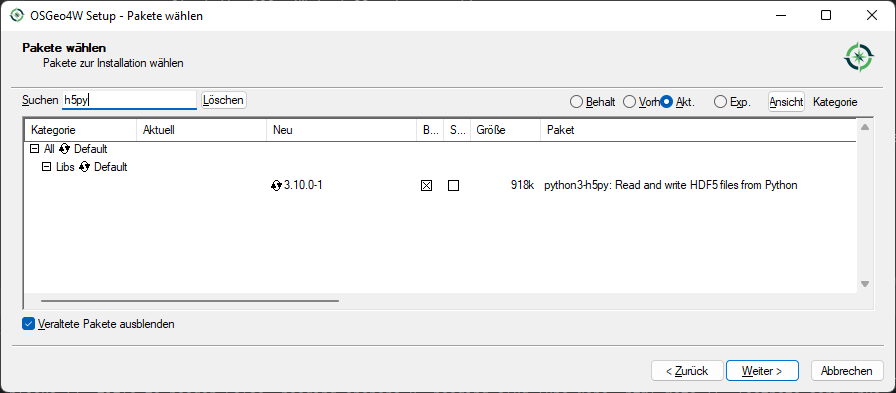
Now search for gdal-hdf5, select the latest version and finish the installation.
Open QGIS from the start menu.
Install Python Dependencies
Open the Terminal (Ctrl + Alt + T).
Make sure the following packages are installed using the system package manager:
sudo apt install python3-pip python3-venv pyqt5-dev-tools python3-matplotlib(Optional) For some EnMAP-Box tools you may also need the following packages:
sudo apt install python3-h5py python3-pyqt5.qtopengl python3-netcdf4Open QGIS and the QGIS Python Console (Ctrl + Alt + P). Type the following and confirm with enter:
import sys; sys.executable
This shows the path of the Python executable that QGIS is using, usually it is
/usr/bin/python3. We need to ensure that additional Python packages get installed into the same Python environment. This is the case if the commandwhich python3returns the path of the Python executable shown in QGIS!If not, please use the full path, e.g.
/usr/bin/python3instead ofpython3in the following steps.Close QGIS.
Create a virtual python environment in a directory of your choice (e.g.
~/.virtualenvs/enmapbox):python3 -m venv --upgrade-deps --system-site-packages ~/.virtualenvs/enmapboxActivate the environment:
source ~/.virtualenvs/enmapbox/bin/activateNow you should see the environment name in brackets at the beginning of your prompt, e.g.
(enmapbox).Install missing Python dependencies with pip inside the virtual environment:
python3 -m pip install -r https://raw.githubusercontent.com/EnMAP-Box/enmap-box/main/.env/linux/requirements_ubuntu.txtStart QGIS (from the activated environment, see step 6):
qgis
Hint
You can add a shortcut to your applications menu, so you do not have to open a Terminal and type the above-mentioned commands (6 & 8) every time you want to start QGIS with the EnMAP-Box environment:
Create the file ~/.local/share/applications/enmapbox.desktop with the following content (if you used another installation path in the instructions above, change accordingly):
[Desktop Entry]
Name=QGIS (EnMAP-Box)
Exec=/bin/bash -c "source ~/.virtualenvs/enmapbox/bin/activate && qgis %F"
Terminal=false
Icon=qgis
Type=Application
Categories=Education;Science;Geography;
Install Python Dependencies
Use the QGIS-<version>.app internal pip3 to install or update missing python packages:
/Applications/QGIS-3.36.app/Contents/bin/pip3 install -r https://raw.githubusercontent.com/EnMAP-Box/enmap-box/main/.env/macos/requirements_macos.txt
Note
This step needs to be repeated after updates to the QGIS.app.
Do not-update packages like numpy or GDAL with pip, as this might break parts of your QGIS application.
Install a python environment for the EnMAP-Box
Open the Miniforge prompt

Install QGIS and python dependencies, using one of the conda environment files (enmapbox_*.yml) from https://github.com/EnMAP-Box/enmap-box/tree/main/.env/conda, e.g.
conda env create -n enmapbox --file=https://raw.githubusercontent.com/EnMAP-Box/enmap-box/refs/heads/main/.env/conda/enmapbox_full.yml
--file=<uri>specifies the path to the *.yml file that defines the environment.
-n <name>or--name <nam>can be used to change the environment name.The environment files provided for download vary by used QGIS release and python packages to be:
full environments contains all python packages, including those used by single EnMAP-Box applications only
light environments contain python packages that are required to run most and all core EnMAP-Box applications
ltr environments use the current QGIS Long Term release instead of the latest (and newer) QGIS release that is available in conda.
Use the raw content url to download and install an EnMAP-Box conda environment from github.
Environment
Size
Path
enmapbox_light
4.58 GB
https://raw.githubusercontent.com/EnMAP-Box/enmap-box/refs/heads/main/.env/conda/enmapbox_light.yml
enmapbox_light_ltr
4.65 GB
enmapbox_full
6.46 GB
https://raw.githubusercontent.com/EnMAP-Box/enmap-box/refs/heads/main/.env/conda/enmapbox_full.yml
enmapbox_full_ltr
6.90 GB
Activate the conda environment and start QGIS:
activate enmapbox
qgis
Note
QGIS is developing rapidly. To keep an environment <env_name> up to date, call:
conda env update -n <env_name> --file=<env_name>.yml --prune
To delete a conda environment, call:
conda env remove -n <env_name>
3. Install EnMAP-Box
Install EnMAP-Box Plugin via the QGIS Plugin Manager
Start QGIS
Go to Plugins -> Manage and Install Plugins
Search for ‘EnMAP-Box’
Click on ‘Install Plugin’
- Activate Experimental Plugins (Optional)
Go to Plugins -> Manage and Install Plugins -> Settings
Enable Show also Experimental Plugins
The install the qgis-plugin-manager allows to install QGIS plugins like the EnMAP-Box from the command line:
**Install EnMAP-Box Plugin via the QGIS Plugin Manager**

# define the path where your plugins are stored
export QGIS_PLUGINPATH=~/.local/share/QGIS/QGIS3/profiles/default/python/plugins
mkdir $QGIS_PLUGINPATH

# install the 3Liz qgis-plugin-manager
conda install qgis-plugin-manager
qgis-plugin-manager init
qgis-plugin-manager update

# install the EnMAP-Box
qgis-plugin-manger install 'EnMAP-Box 3'
4. How to include EnMAP-box into your Python project
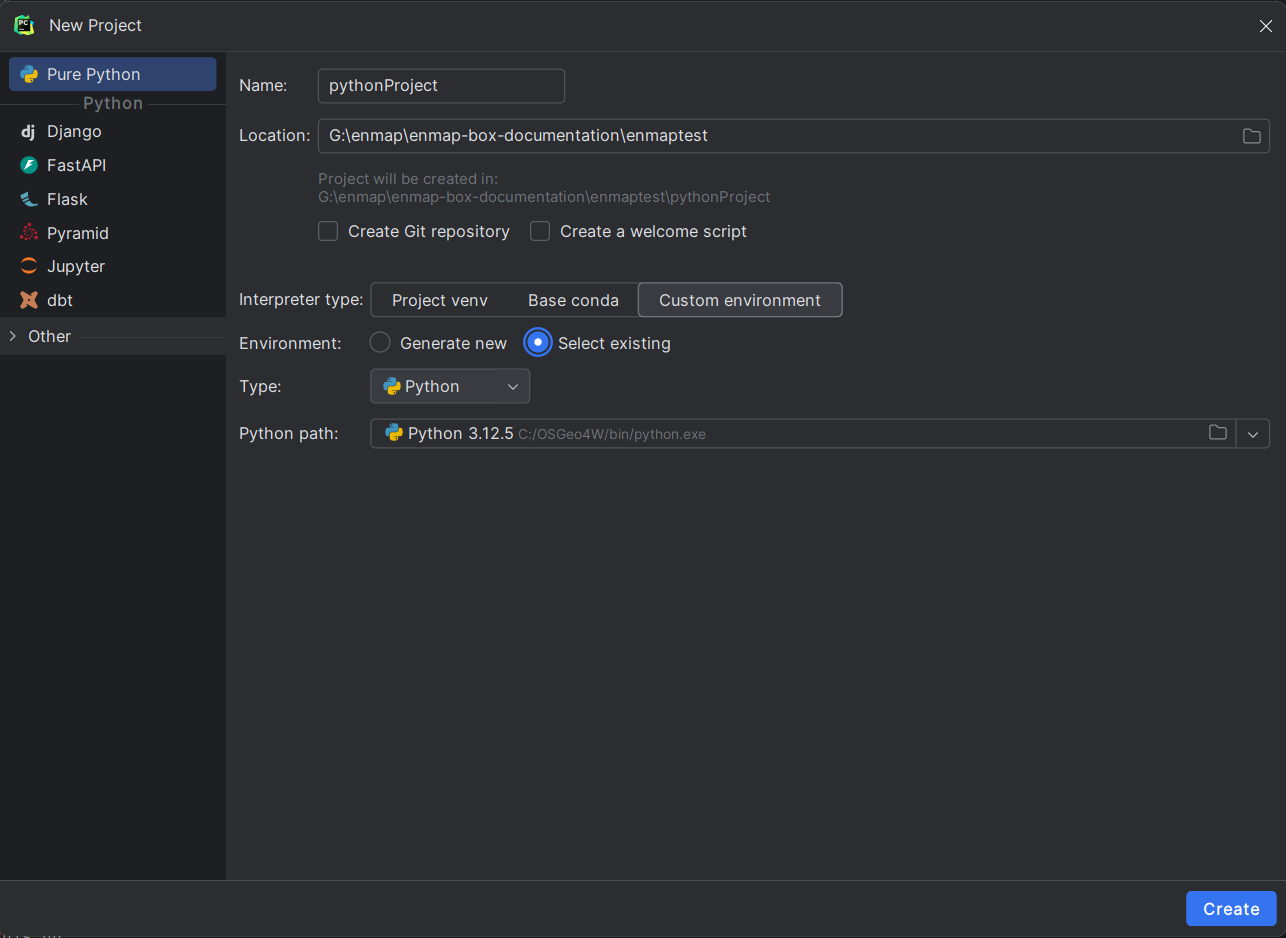
Here is how you can use an algorithm from Python using the PyCharm IDE:
Setup a PyCharm Project and use the Python Interpreter that comes with QGIS.
Include the installed EnMAP-Box Plugin as a Sources Root.
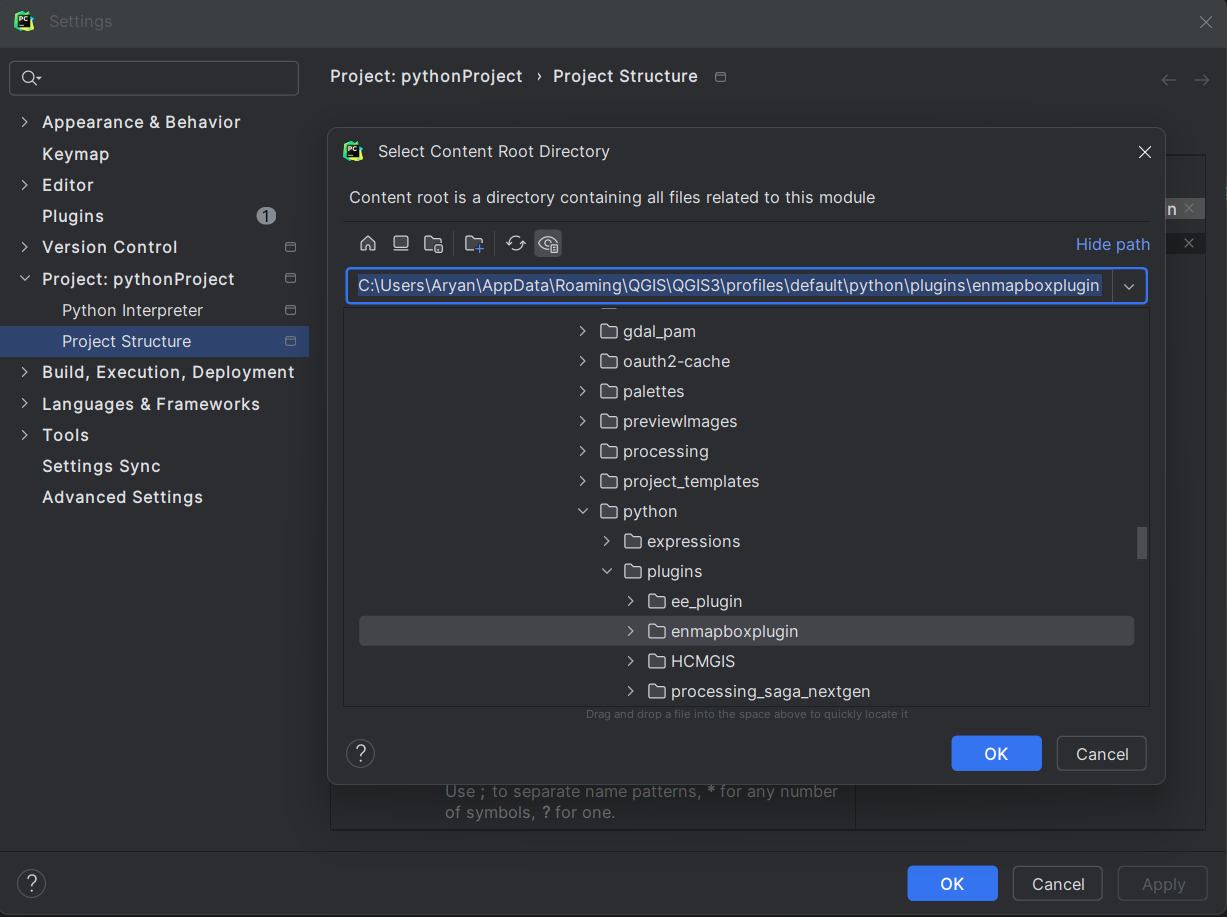
Now you can use the EnMAP-Box API, i.e. enmapbox and enmapboxprocessing modules.
import processing

from enmapbox import initAll
from enmapbox.testing import start_app

start_app()
initAll()

processing.run(
    "enmapbox:Build3DCube",
    {
        'raster':'C:/Users/Aryan/AppData/Roaming/QGIS/QGIS3/profiles/default/python/plugins/enmapboxplugin/enmapbox/exampledata/aerial_potsdam.tif',
        'spectralScale':1,
        'dx':1,
        'dy':1,
        'outputCubeFace':'TEMPORARY_OUTPUT',
        'outputCubeSide':'TEMPORARY_OUTPUT'
    }
)