An e-mail is send to your address containing a verification code.
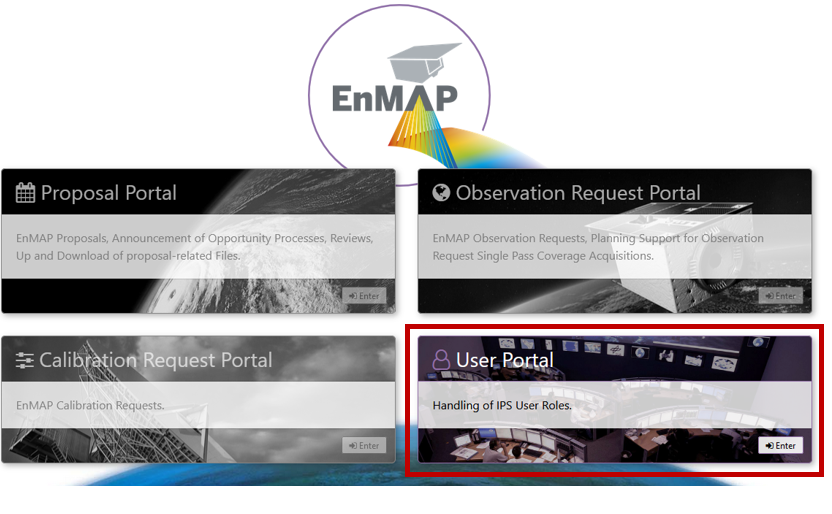
After the successful registration, login to the Instrument Planning Portal and enter the User Portal
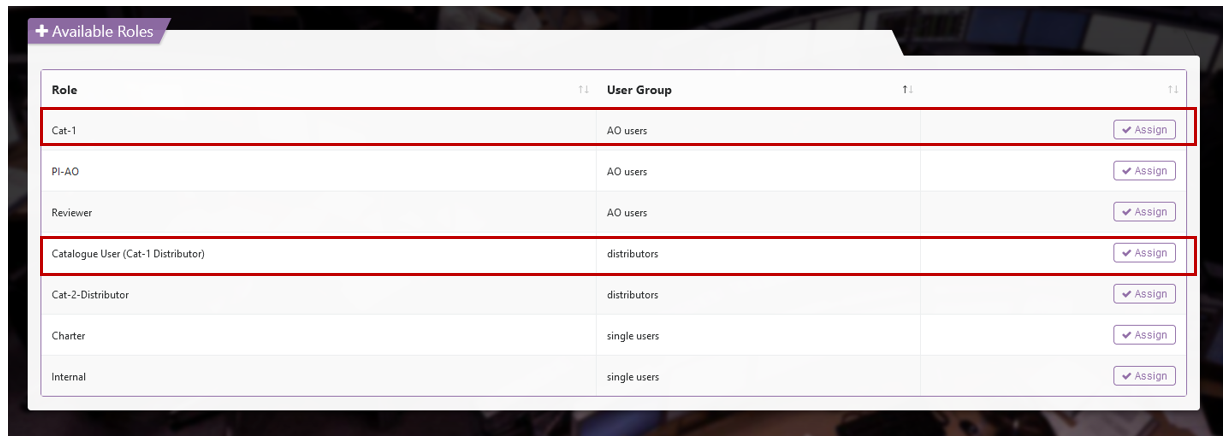
In the User Portal, the user has to go through the Role Assignment procedure which is used to assign different priorities to observation requests.
For more information about the different User Roles please take a look at the Portal User Manual.
To access the data archive, request Catalogue (Cat1-Distributor)
To request data takes / submit proposals for data takes, request Cat-1
Wait until the respective role is assigned. Note: This will take a few hours.
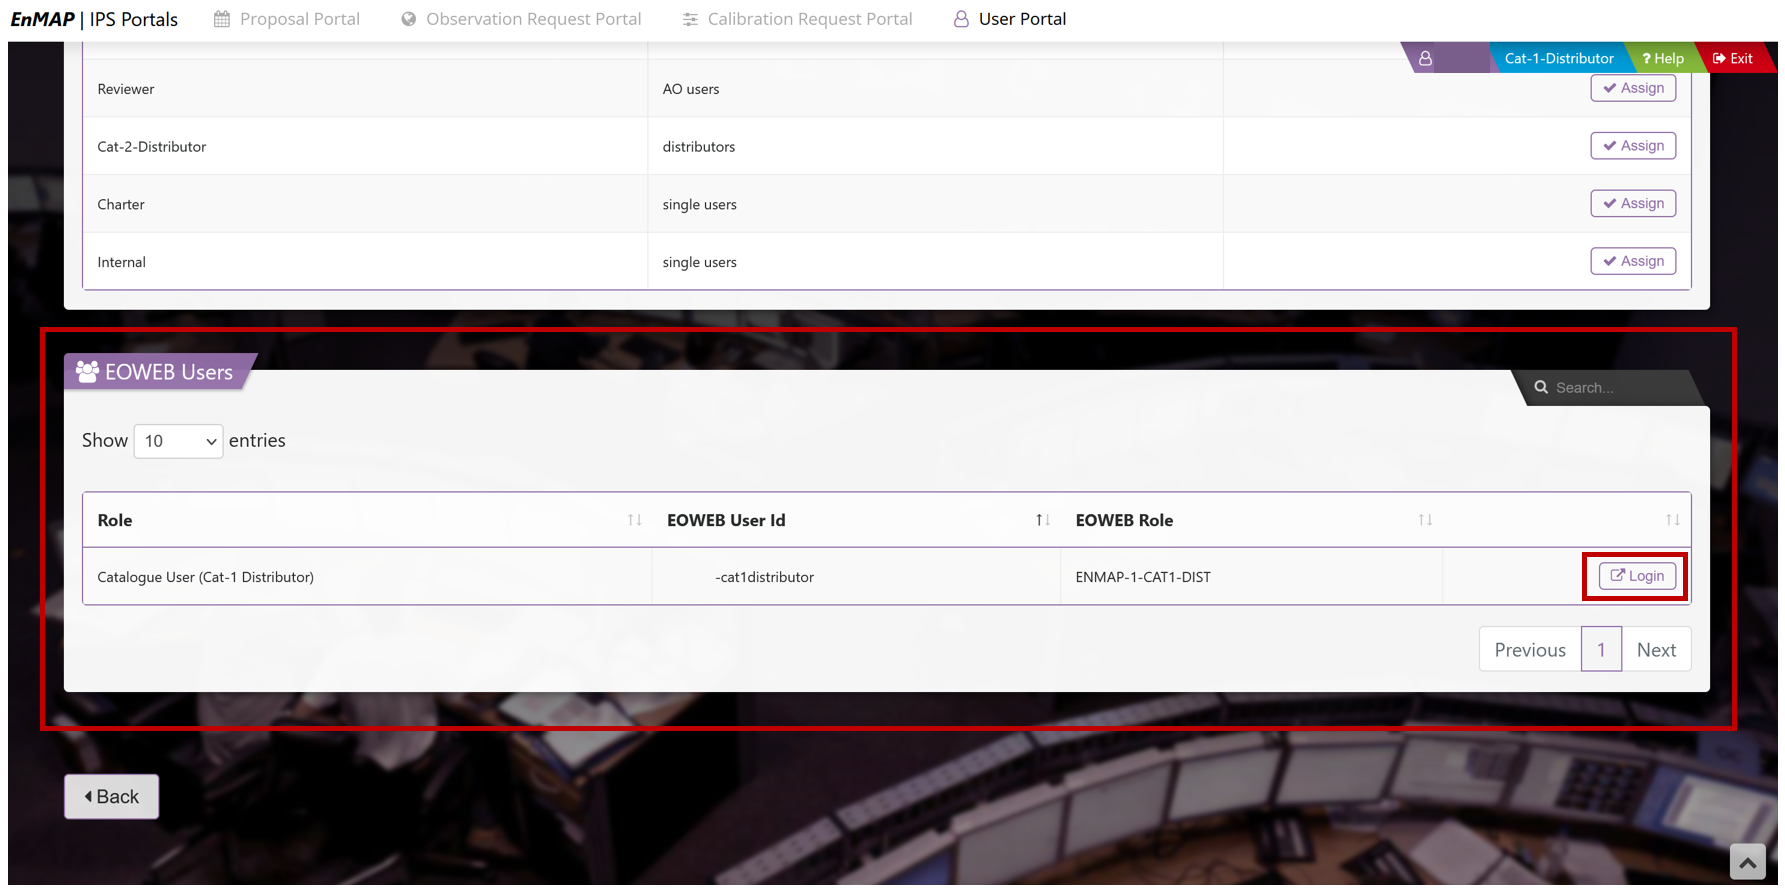
Once the role has been assigned, a new box will appear in the User Portal, allowing you tp access the EOWEB ® GeoPortal to search the EnMAP Data archive and order images.
The EOWEB ® GeoPortal access link is created for Cat-1 users after the requested role has been approved by the reviewer.
The login button appears on the User Portal page, which automatically directs to the EOWEB ® GeoPortal login page.
Login with the respective User ID associated with the approved role request. The password remains the same as when logging into the Instrument Planning Portal.
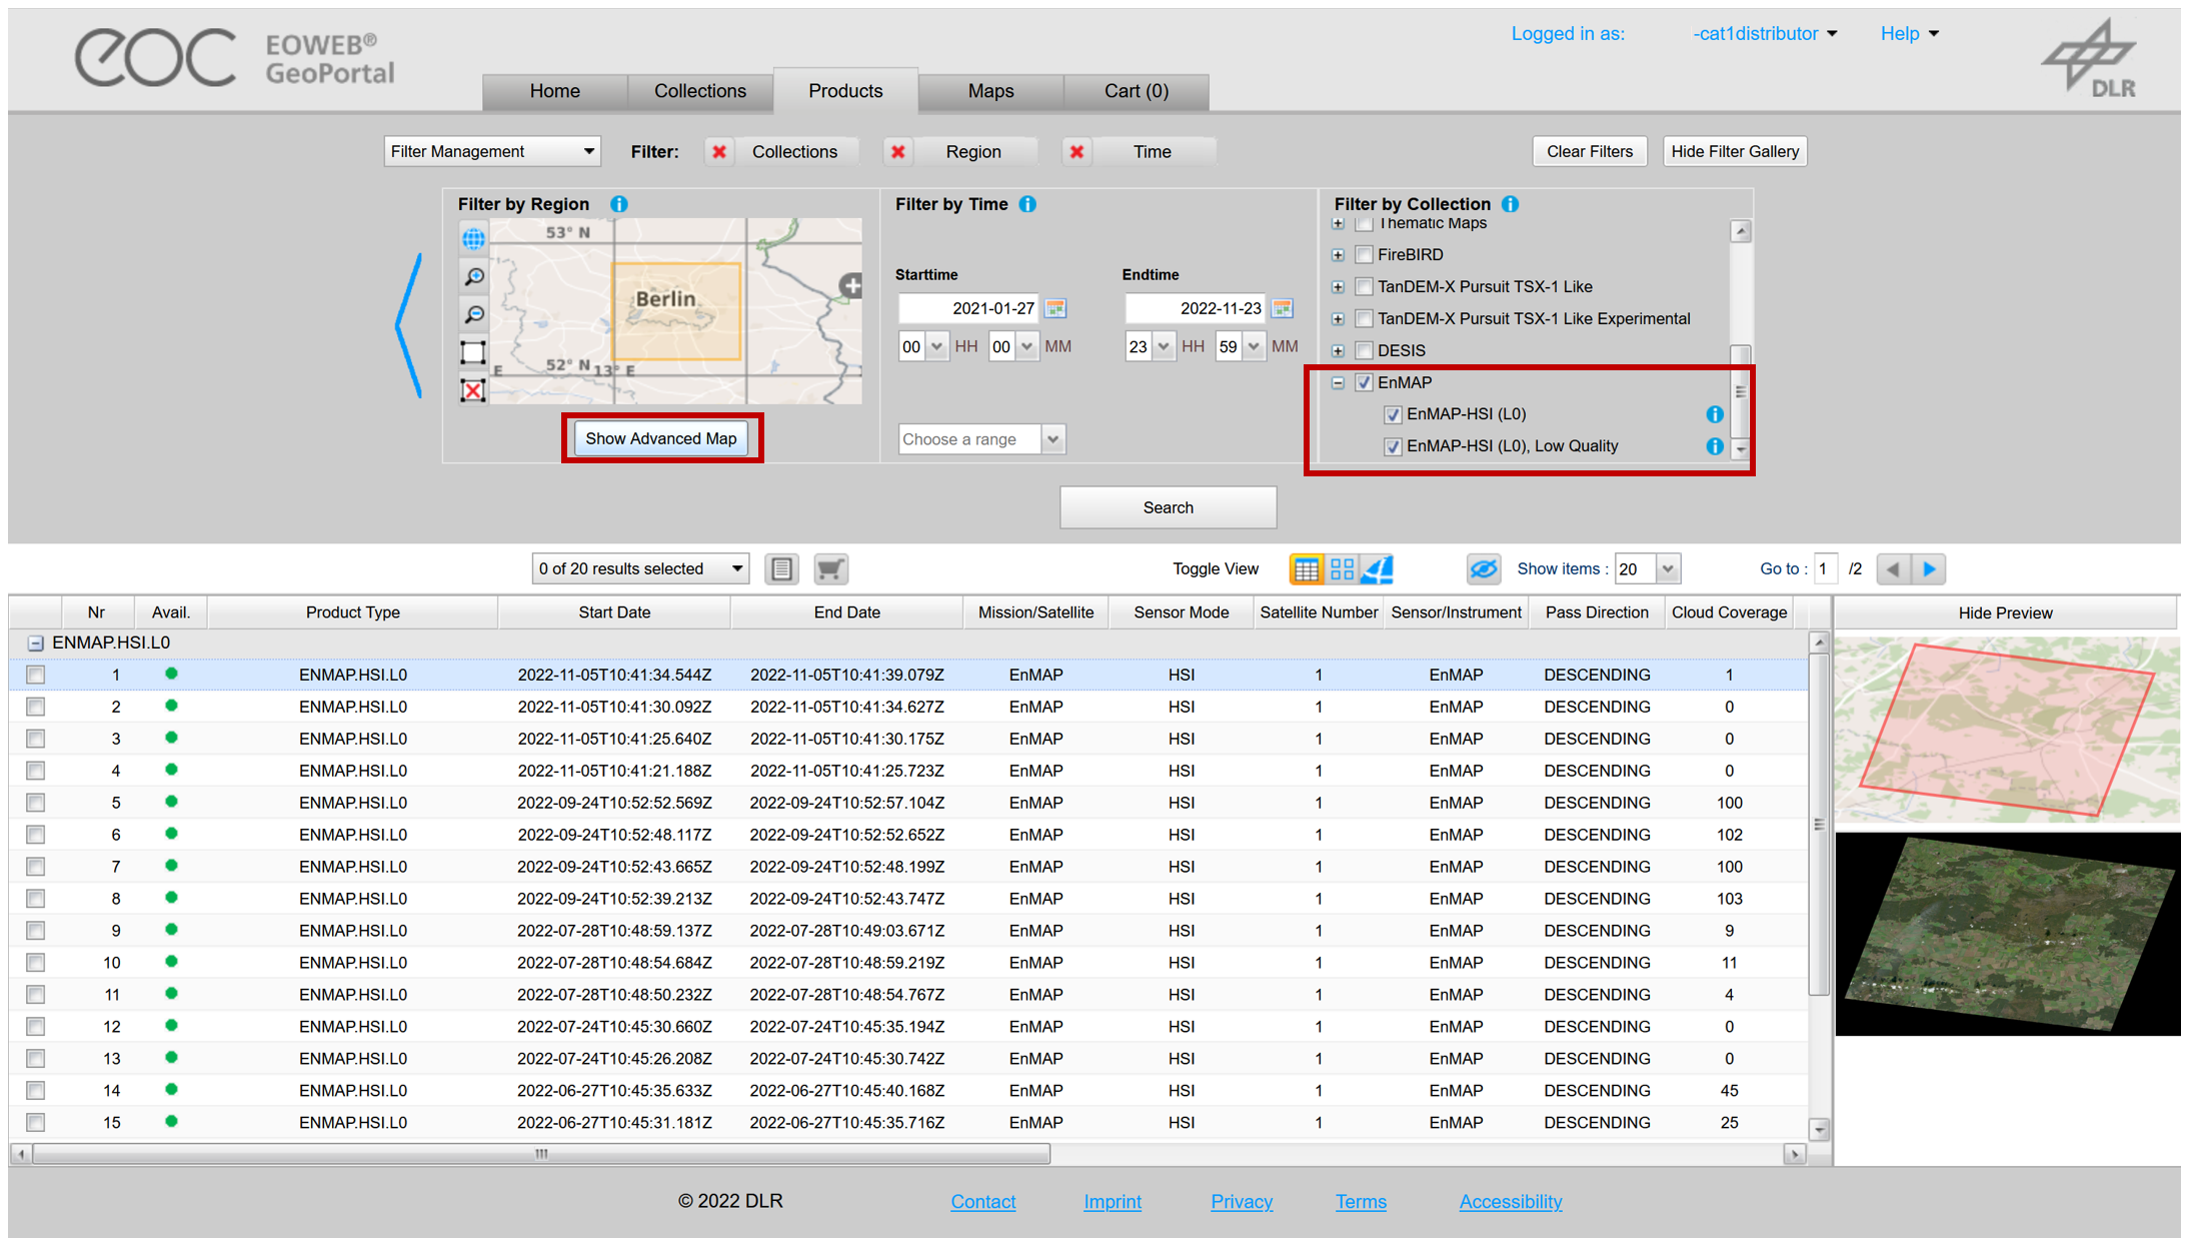
Once logged in, click Show advanced map to zoom, pan and draw a rectangle.
Select EnMAP in Filter Collection and confirm with Search.
Note
You may also want to check the EnMAP-HSI (LO), Low Quality box to see additional records that are marked as low quality, but are still good.
Hide Show advanced map to see the results.
Place your order and wait until you get notified.
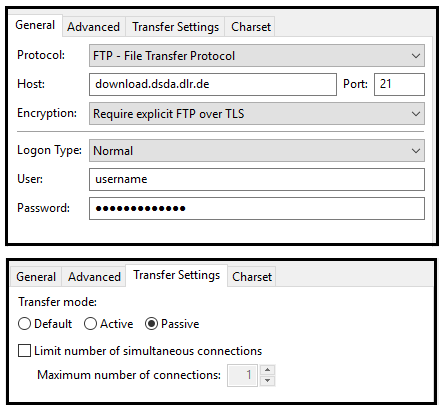
Step 3: Download data from the FTP Delivery Server
After the order is placed, an e-mail is sent including a link to the FTP server and the zipped data.
Note
The User ID and password to access the FTP server are identical to the EOWEB ® GeoPortal credentials.
To download the data use a FTP client, for example FileZilla. For further help on how to download the data from the FTP server take
a look at Downloading Ordered Data.